
Create a structured quote
Turn approved sign-project scope, quantities, pricing and assumptions into a structured customer-ready quote.
Step by step
- Open Quotes and select Create quote; the editor opens with the title Create quote and the meta label New draft.
- Choose the Client, then pick a Quote contact or use Add contact to record a new one.
- Enter the Quote name, check Currency, then set Valid until and Budget where the enquiry has them.
- Select Add line for each scope item and complete Item, Description, Qty, Unit, Unit cost, Markup and Sell price; the Quote summary updates as you type.
- Open the Time allocation tab, choose a Task template, enter Hours and select Add task so the quote carries its labour plan.
- Expand Additional details to record a Follow-up date, Quote notes, Follow-up notes and Sales notes.
- Select Save; the toast Quote saved appears, the quote number is allocated and the title changes to Quote followed by the number.
- Select Save and close to return to Quotes, then open the quote to review its detail page before you issue or email it.
Good practice
Write every line description for the person who will build it, not only the person who will approve it. Quote detail, the customer document and the invoice reuse the same saved line, so naming material, size, finish and inclusions saves a production question later.
Before you begin
- The client exists in Clients, ideally with a saved contact.
- Your organisation default currency and tax rate are configured.
- Reusable job tasks exist in Settings if you want to allocate time from templates.
Complete workflow
How the workflow moves
- 01Set up
Choose the client, contact, quote name, currency and validity.
- 02Build scope
Add priced line items with cost, markup and customer-facing descriptions.
- 03Allocate time
Add task rows so the quote carries the labour plan.
- 04Save
Save the Draft and review it from the quote detail page.
Setup dependency
Settings that change this workflow
The same task can behave differently between organisations. Check these settings before treating a different result as an error.
/settings/job-tasksSupplies the task templates offered on the Time allocation tab.
Open in SignBas3 →/product-catalogueSupplies reusable items and cost context when you search inventory on a quote line.
Open in SignBas3 →/settings/general/quote-defaultsSupplies the organisation quote defaults loaded when the editor opens.
Open in SignBas3 →/settings/setup/numberingAllocates the quote number when the Draft is first saved.
Open in SignBas3 →Screen reference
What you will see
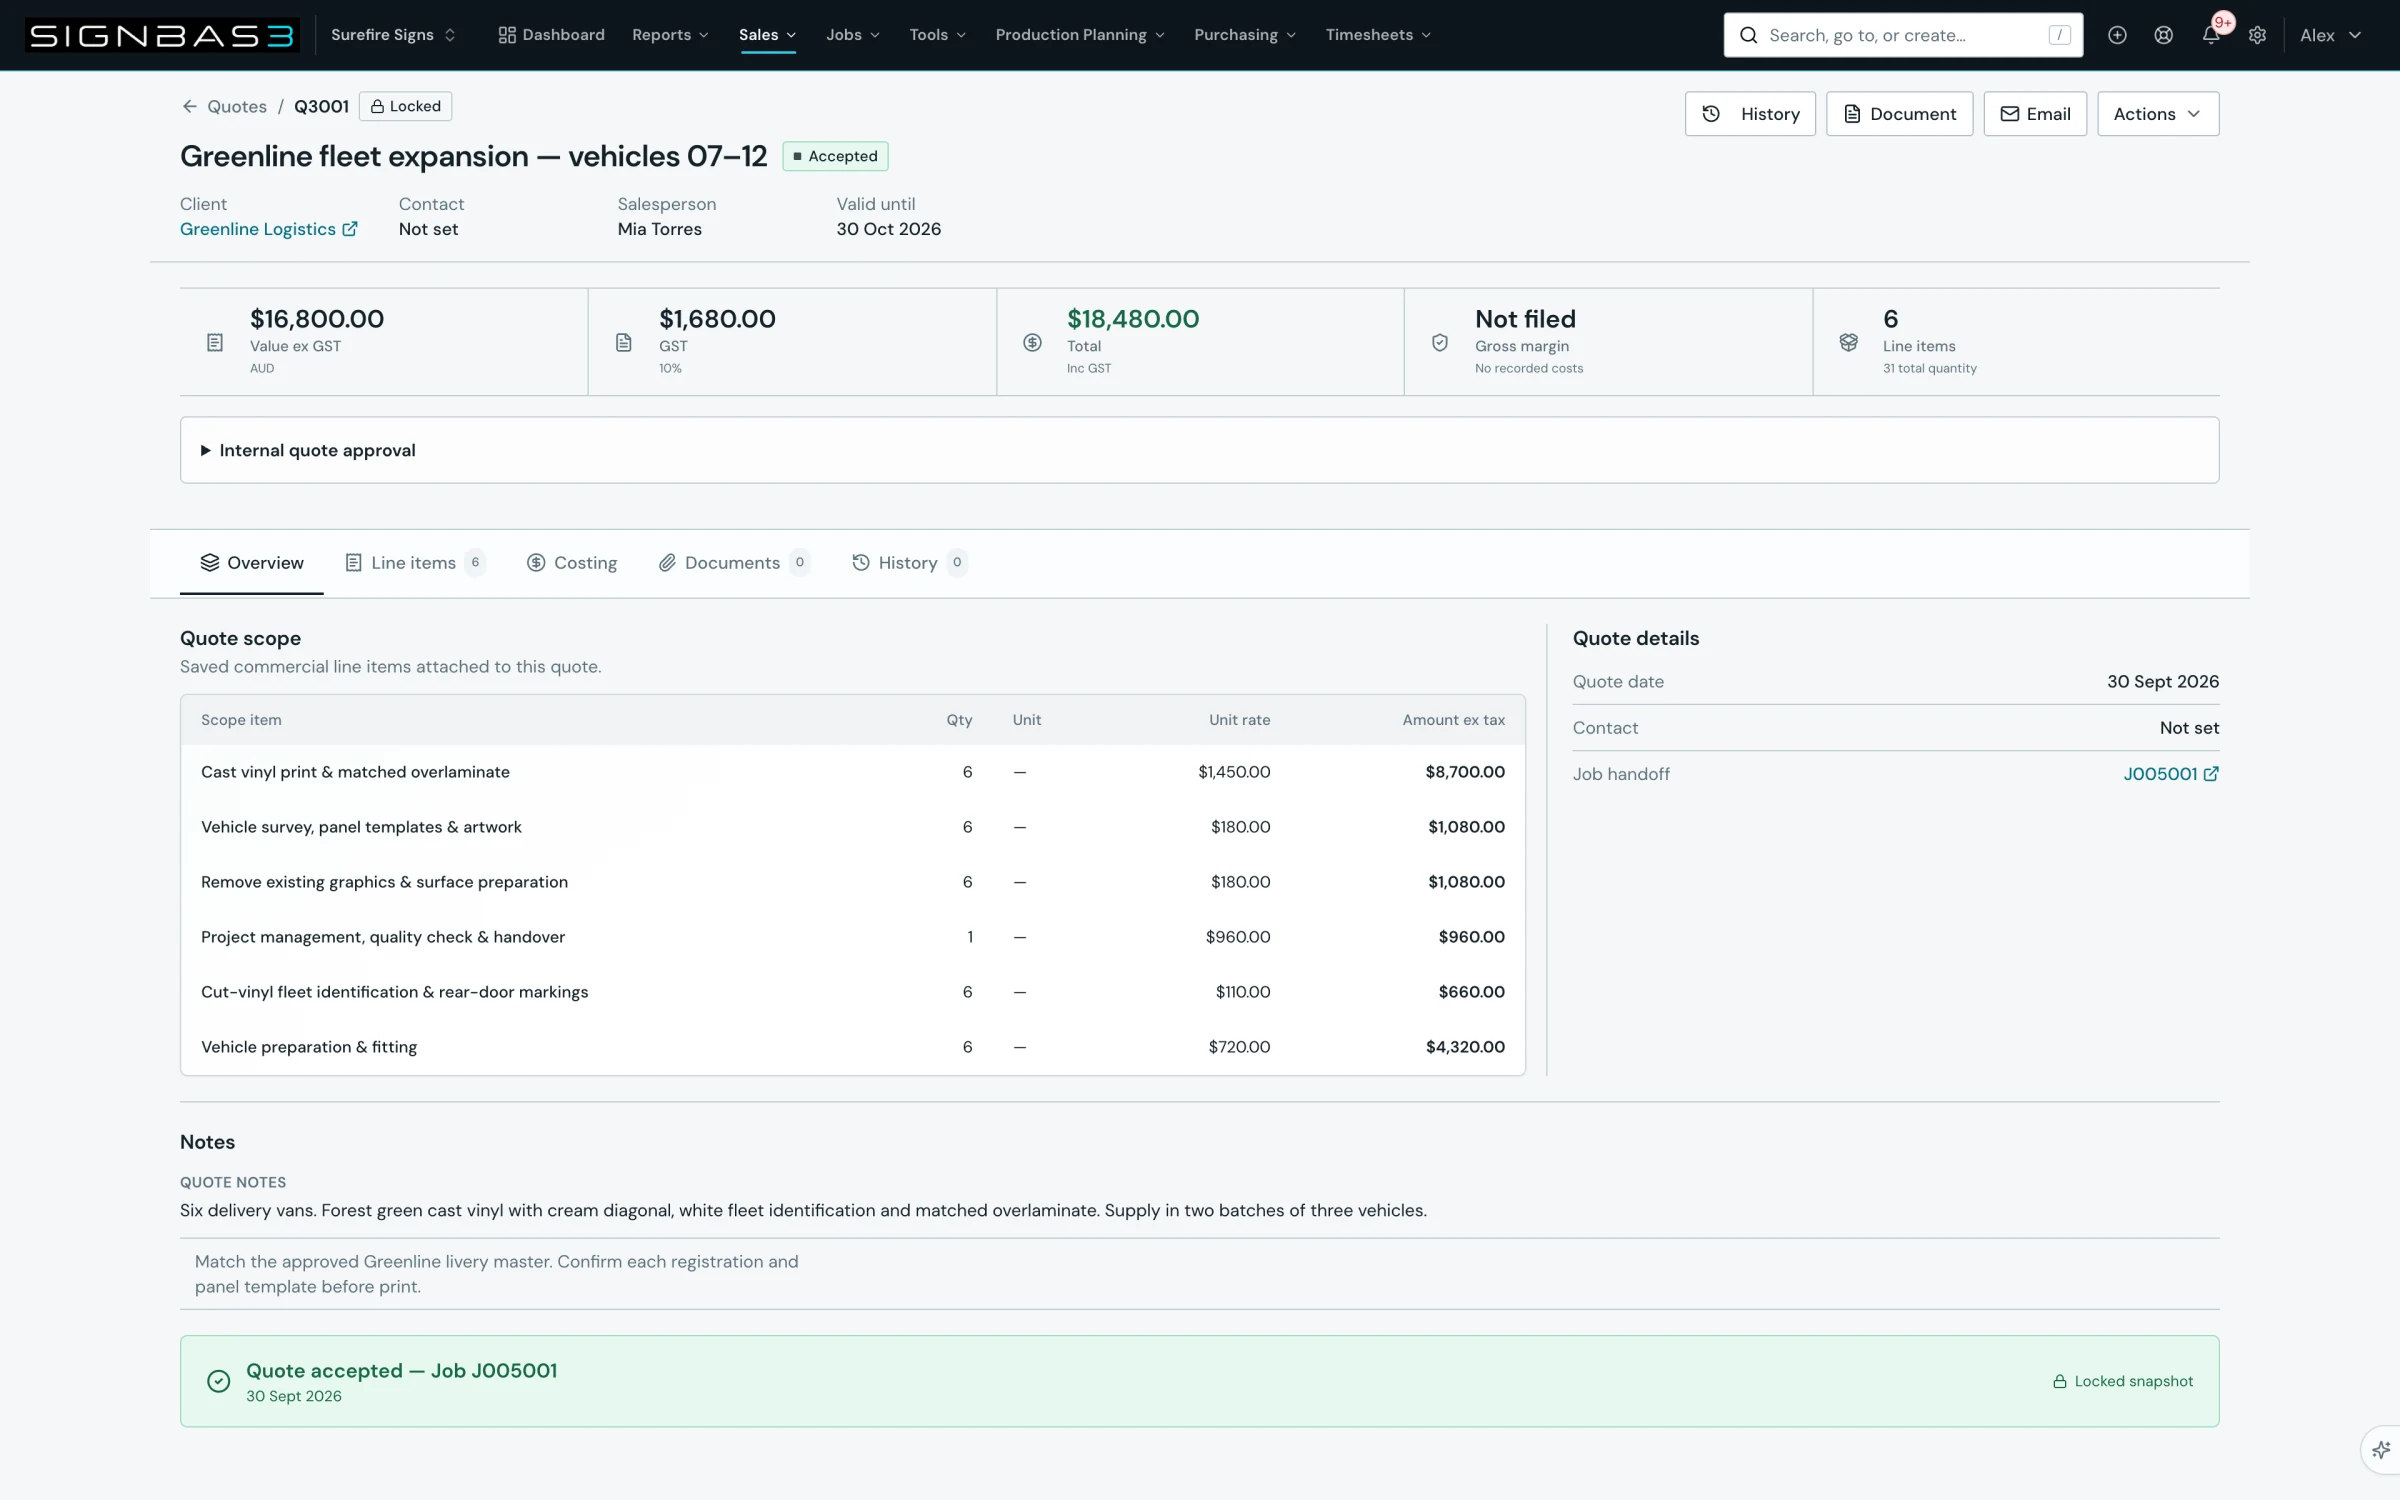
What this controls
A structured quote is the commercial record that everything downstream inherits. The line items you save here become the scope on the quote detail page, the customer document, the job created from the accepted quote and the quoted lines offered on a draft invoice. The costs and markup you enter drive the Costing tab and the Gross margin figure on quote detail.
The quote locks once issued, so get scope, quantities and pricing right here; later changes happen through a revision.
Before you start
- Your role must be able to write quotes. If Create quote is missing from the Quotes page, ask an Owner or Admin to review your permissions.
- The client must already exist. Create the client first; a contact can be added from inside the editor.
- New quotes use the organisation default currency; choose another enabled currency before the first save, because Currency is locked once saved.
Walkthrough
1. Open the quote editor
Go to Quotes and select Create quote. The editor opens at /quotes/new with the heading Create quote and the description Prepare the scope, pricing and time allocation for a client quote. The meta label reads New draft, then Saved draft, and Unsaved changes whenever the form differs from the saved record. The toolbar offers Save, Save and close and Issue & accept; an Email button appears once the quote has been saved. The editor has three tabs: Quote, Time allocation and Documents.
2. Choose the client and contact
Under Quote details, use Client to search and select the customer. When a client is chosen the Quote contact selector appears, listing that client's saved contacts and defaulting to No specific contact. Select Add contact to record a new person with Contact name, Email, Phone and Position, then select Add; the toast Contact added confirms it. The chosen contact appears on quote detail and is used when you email the quote.
3. Name and frame the quote
Enter a Quote name such as Reception signage package; it becomes the heading on quote detail and the default job name at handover. Currency shows the organisation default and the other enabled currencies until the first save. Valid until is a date field that defaults for you; adjust it when the customer needs a longer validity, because an expired quote cannot be issued or accepted. Budget is optional.
4. Add priced line items
In Quote line items, select Add line. Each line has Item (search inventory or type a name), Description (customer-facing scope, materials, finish and inclusions), Qty, Unit (defaults to each), Unit cost, Markup as a percentage, Sell price and a read-only Line total. Enter cost and markup and the sell price is calculated; enter a sell price directly and the markup is recalculated. The toolbar also offers Import quote workbook and Download quote calculator template. The Quote summary panel lists each pricing source, the Subtotal, the tax line and the Total.
5. Allocate time
Open the Time allocation tab. In Quote time allocation, choose a Task template, adjust Hours and the Task label, then select Add task. Each row shows Task, Production step, Hours, Rate and Value and can be removed with the Remove task button. The summary panel counts the editable task allocations loaded, and the rows are shown again as the Labour plan on the quote detail Costing tab.
6. Record follow-up and notes
Expand Additional details to set a Follow-up date, Quote notes that appear on quote detail, Follow-up notes for the next action, and Sales notes for private context. Follow-up and sales notes are shown under Notes on the quote detail page and are not part of the customer document.
7. Save the Draft
Select Save. The quote must have a client, a quote name, a currency and at least one priced line. If anything is missing, the editor highlights the field, shows a validation summary with messages such as Select a client, Enter a quote name or Add at least one quote item. On success the toast Quote saved appears, the quote number is allocated by the organisation numbering rule and the page moves to /quotes/:id/edit.
8. Close and review
Select Save and close to save and return to Quotes, where the new quote appears in Active quotes with the status Draft. Open it to check quote detail: the KPI strip shows Value ex GST, tax, Total, Gross margin and Line items.
What changes elsewhere
- The quote appears in the Quotes register at /quotes with status Draft, and the Active portfolio value KPI includes it.
- The quote detail page at /quotes/:id shows the saved lines under Quote scope, the recorded costs under Internal costing and the notes under Overview.
- The job created from the accepted quote carries the quote name, client and approved totals into /jobs/new.
Common problems
| Symptom | Cause | Fix |
|---|---|---|
| Save highlights a field and shows a validation summary | Client, Quote name, Currency or a priced line is missing | Complete the highlighted field; the summary lists what is required. |
| Add at least one quote item before saving | Every line is empty | Add a line with an item or description, or import a workbook. |
| Only draft quotes can be edited | The quote has been issued or accepted | Open quote detail and use Actions then Create revision. |
| Currency cannot be changed | Currency is fixed after the first save | Create a new quote and choose the currency before you save it for the first time. |
Check your work
- The editor shows Saved draft and the quote number in the page title.
- The quote detail Line items tab lists every line with the expected quantity, unit rate and amount ex tax.
- The Costing tab shows a margin for each costed line and Gross margin on the KPI strip is no longer Not filed.
- Time allocation rows appear on the Time allocation tab after you reopen the quote.
If your workspace behaves differently, record the relevant job, client or record number and raise a support ticket so the team can investigate the exact context.